How it Started
I’m a mac user and generally run all my linux stuff in the cloud. It’s been that way for the last decade of my life. The last time I built my own PC or any custom hardware was over 20 years ago. The Macs I have ‘just worked’, my networking gear, dashcam, UPSes, NAS and everything else ‘just worked’. I’ve had most of my electronics equipment for about 6-7 years now, including my NAS.
Many months ago my NAS (Network attached storage) broke down. Luckily I had most of my data on my macs and didn’t really need much of the data from my NAS. So it remained broken sitting there collecting dust for a few months. Then I started noticing some of my gadgets and devices were starting to break down one by one. Mostly probably due to wear and tear, some of them have been with me for 10+ years. Last week I finally decided to do a cleanup of my studio. Get rid of anything I didn’t need, fix anything that’s broken and get them into working order. So I did some inspection on my NAS.
It turns out all the drives were perfectly healthy, and the NAS mainboard itself was the problem. It simply wouldn’t turn on. I called the service center of the NAS and was told that my NAS is out of warranty and they would have to send my NAS to Taiwan to be fixed and that it would cost a lot. I would have to pay for the fix and shipping the thing both ways.
I read online and I saw people were paying up to 600 USD to get it fixed. I managed to find someone online who quoted me 125 EUR but I would have to pay for shipping, which I didn’t want to do since the NAS was quite big and heavy (even without the drives) and would cost a lot to handle shipping both ways.
Held Captive
I took the NAS to local electronics / computer shops here in Thailand to take a look to find if anyone could fix the mainboard. Funnily enough after doing some tests the shop told me every bit of the mainboard works. I was perplexed as to why it wouldn’t turn on. After doing some further research online I found out there is something wrong with the LPC clock on the mainboard that’s preventing it from turning on. Even the fix available is a temporary fix, unless you replace the entire motherboard along with the CPU.
The problem seems to have stemmed from a bug in the intel CPU that was used in my particular model of NAS. It was never rectified by the vendor and now the problem has been pushed onto the consumer.
I felt like I was held captive. I don’t know if this is planned obsolence but here I have 6 perfectly working hard drives which I can no longer use. Getting it fixed means I have to spend a lot of money almost as much as buying a new one. Not getting it fixed means I have a very heavy paper weight and what would I do with the 6 working drives? I needed to do something.
The Decision
I’ve recently been working on some machine learning projects and would love to have something I can test things on locally without booting up expensive GPU instances on the cloud, and along the way also resolve my 6 hard drive paper weight issue. I gave myself a budget of < 1000 USD and decided to build a home server.
Hardware Bill of Materials
I managed to find some nice second hand parts and cheap chinese parts online. Here is the list of the main parts I found that inspired me to do the build.
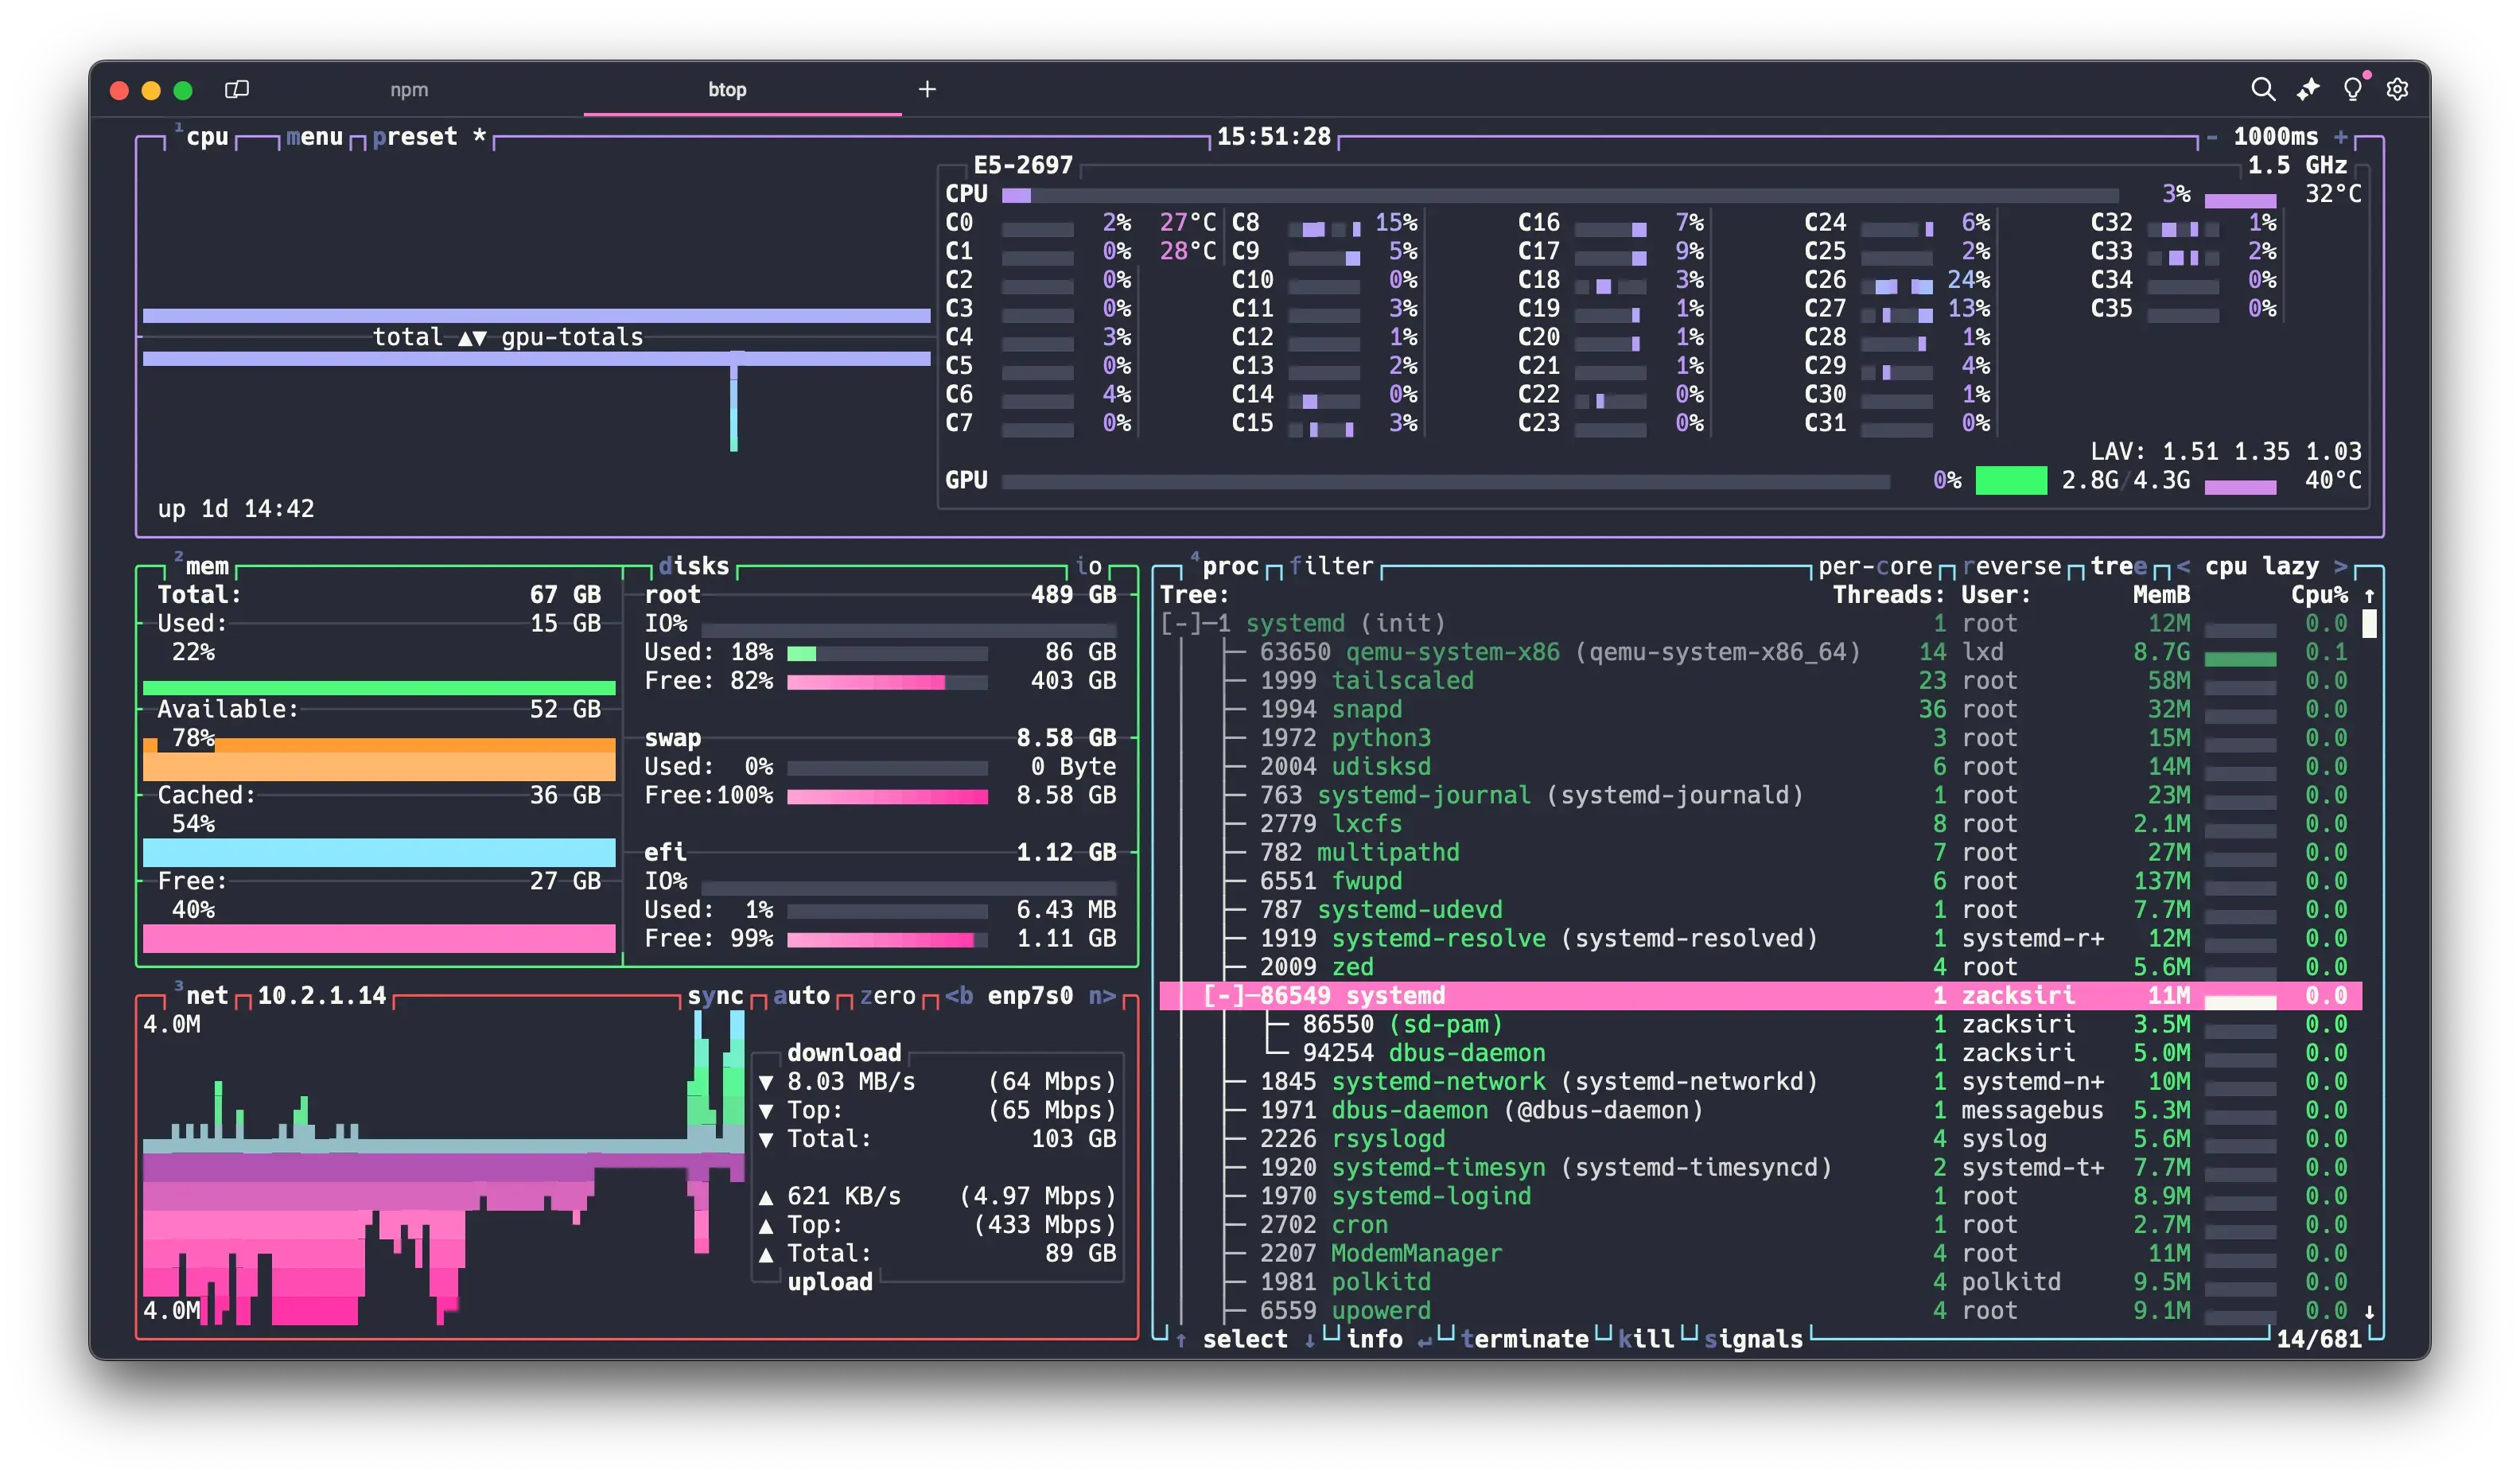
- Intel E5-2697 v4 18 cores 36 threads - $95
- 64GB DDR4 ECC RAM - $120
- Jingsha E8i Mainboard - $95
- Quadro M2000 GPU - $109
Generally these 4 components would be the most expensive parts of the build. All in they added up to about $419 USD. Even if it’s not the latest and greatest it’s still a pretty beefy machine! I still had another $581 for all the other parts. Great! This will be a nice little project and I can end up with a much more useful machine than just a NAS. Next I needed a case that would be able to house the 6 drives.
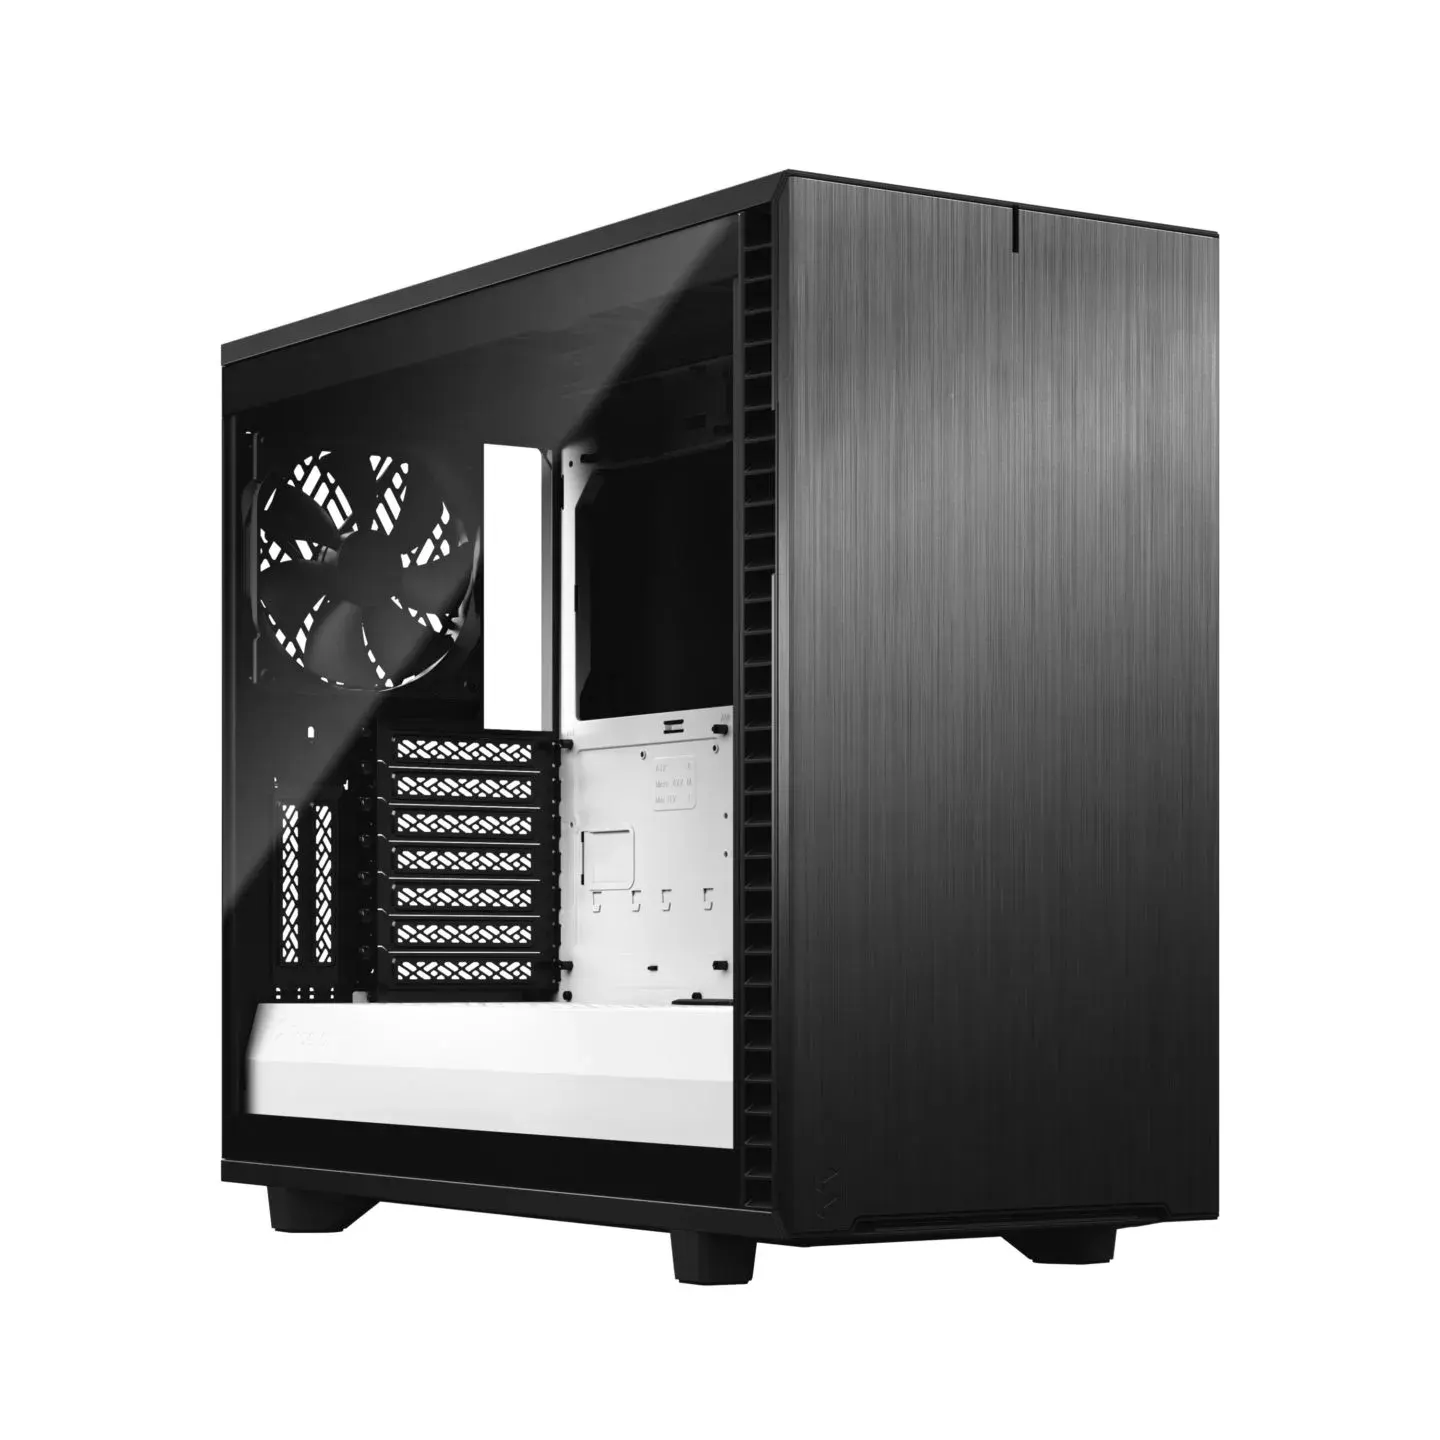
Given that now 3.5 inch drives have mostly been replaced with NVMe or 2.5 inch SSD finding a case that could host 6 of these was a challenge in and of itself. I scoured the web and finally settled on the following:
- Fractal Define 7 - $184
- Bequiet System Power U9 600W - $43
- WD Black SN770 500GB Boot Drive - $54
- CPU Cooler DEEPCOOL AK500 Digital - $68
Software Bill of Materials
Now onto the interesting part of this build. I looked all over the web to find what people were using to setup their NAS. There were 2 prominent options, TrueNAS and Unraid. While they supported running apps inside docker containers I didn’t really feel comfortable. Given that I wanted to have the ability to do more than just using it as a NAS I decided that it was probably better to setup my own software stack. I settled on the following:
- Ubuntu Noble Numbat 24.04 Server
- ZFS Raid for the 6 drives
- LXD 5.21.1 hypervisor
- Netatalk + Tailscale (container)
- Caddy + Livebook + Cuda 12.5 + Tailscale (container)
- Windows 11 + Tailscale (VM)
- Tailscale
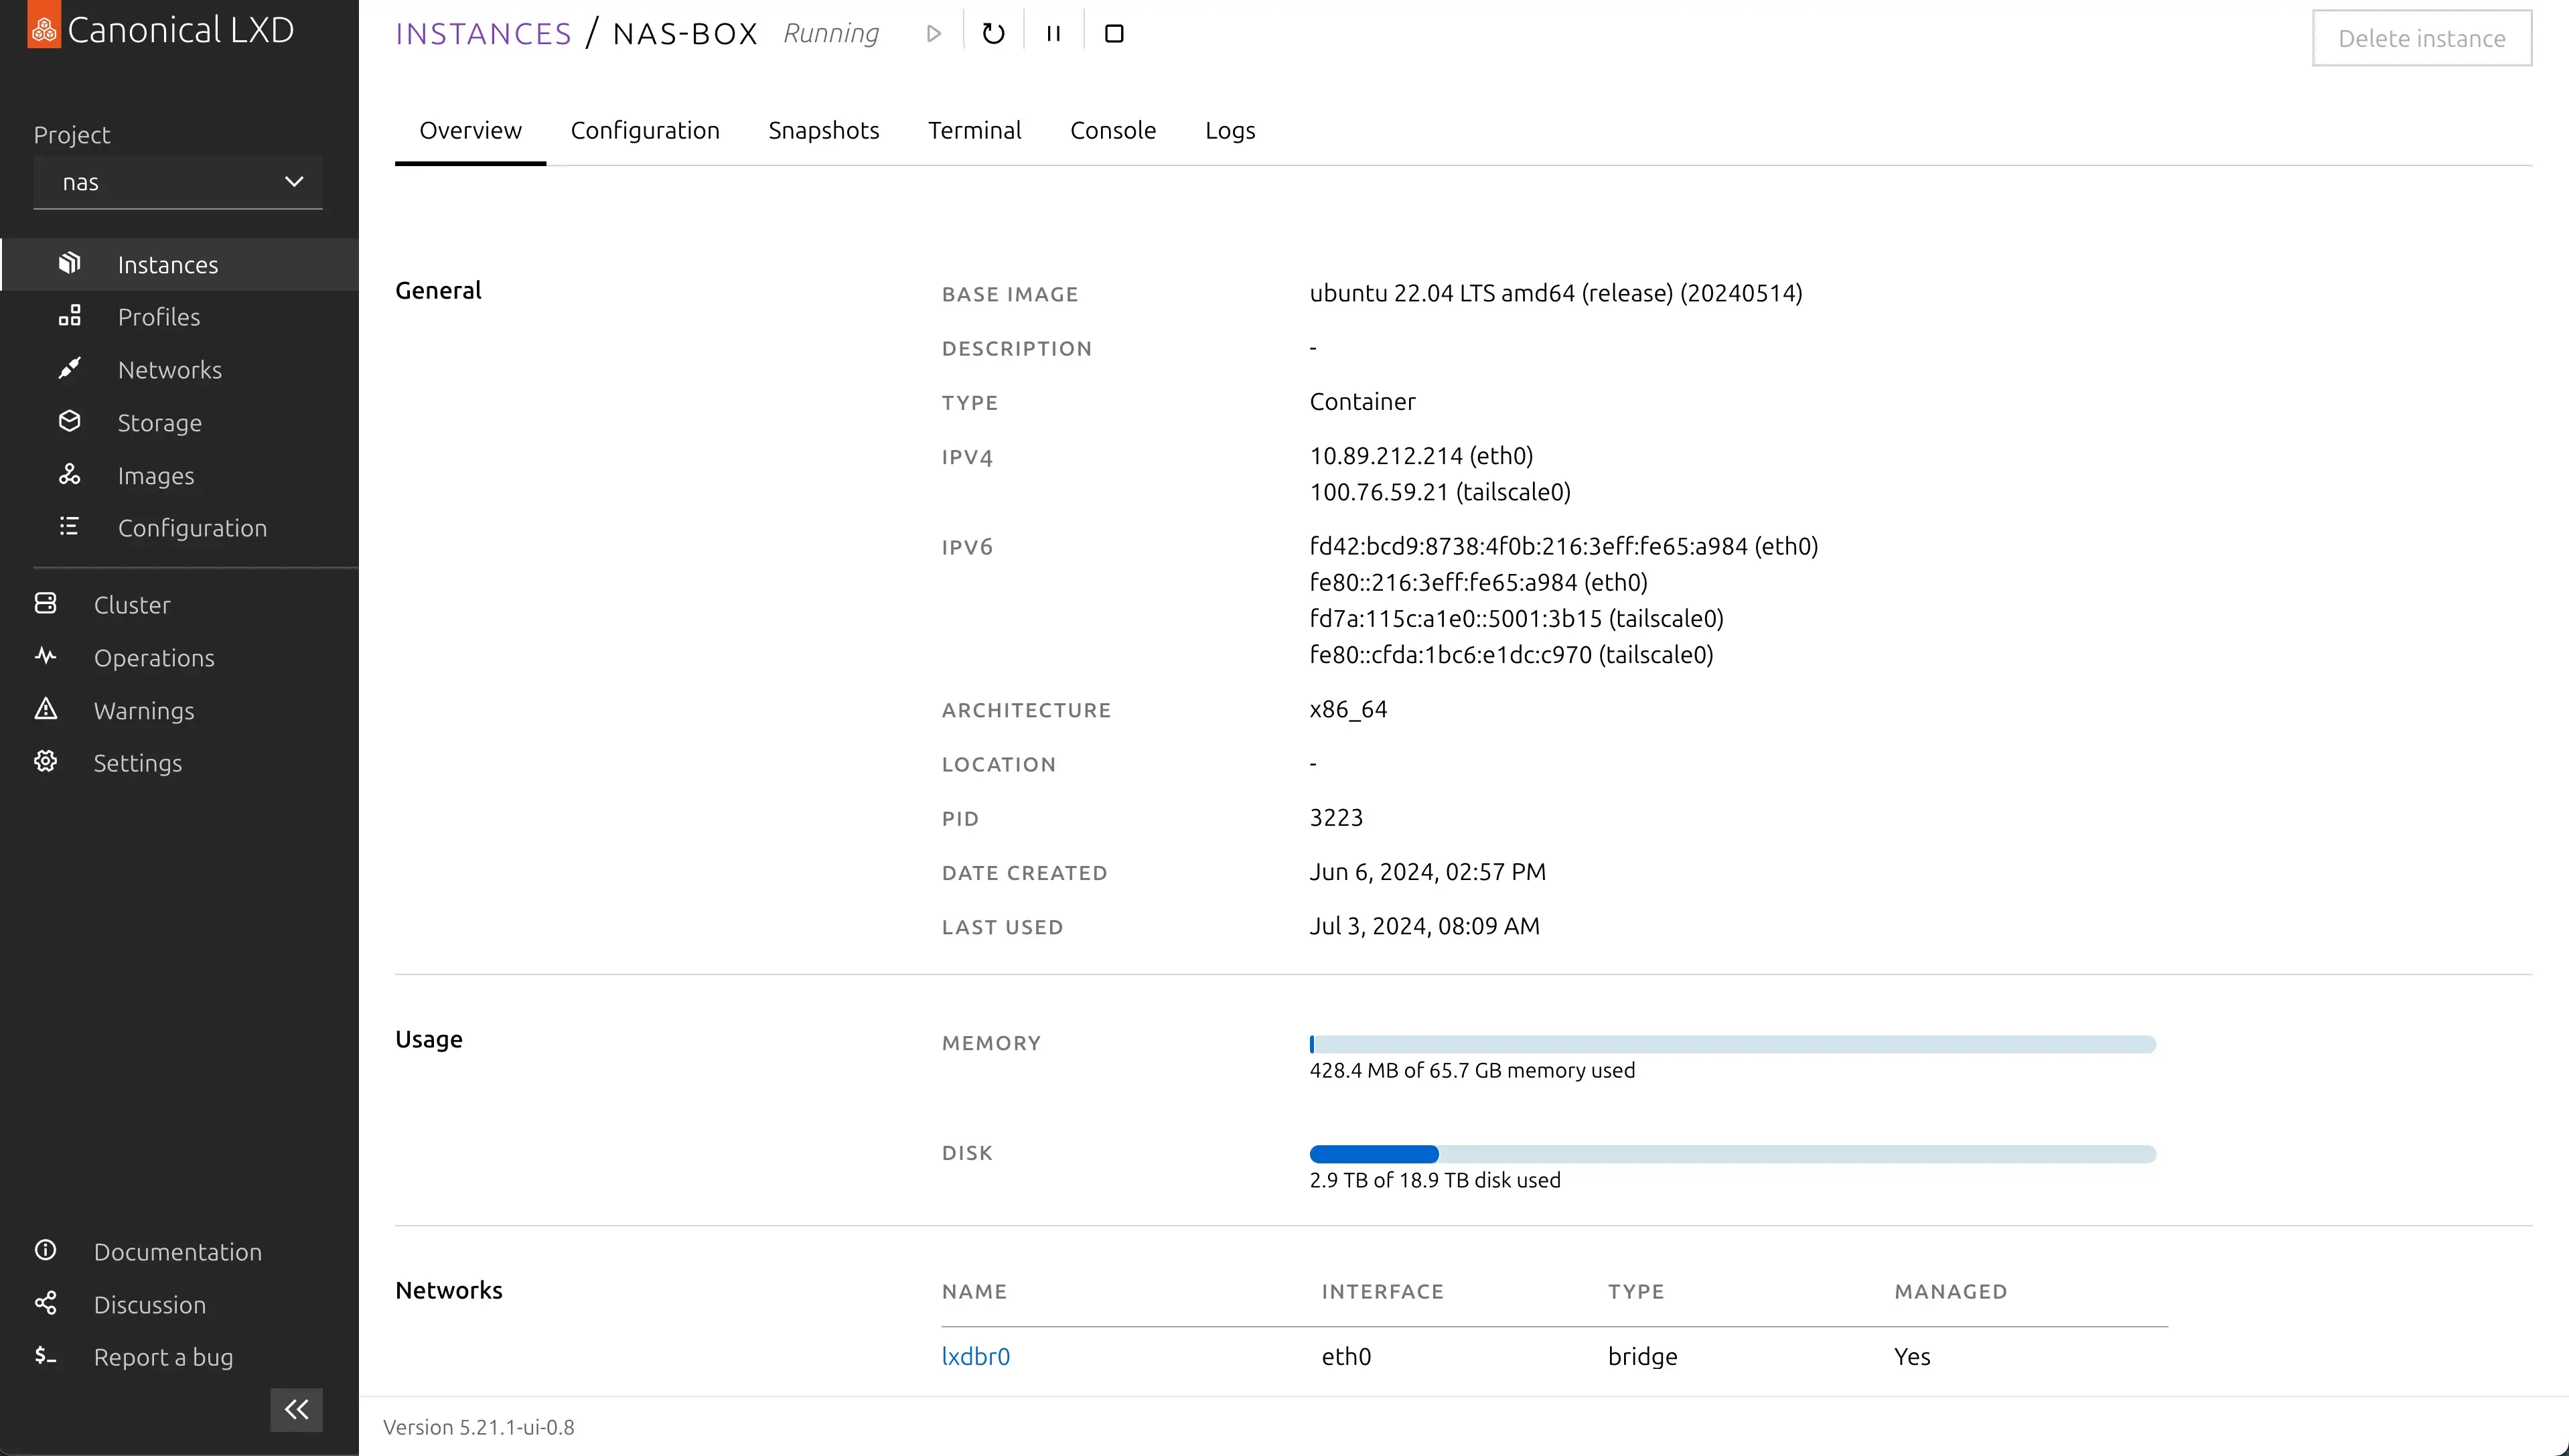
I installed Ubuntu server on the NVMe and setup LXD as the hypervisor that would run all my containers. The beautiful thing about LXD which I think is overlooked by most people is that it’s simple and powerful, cross node networking is done out of the box (if you use clustering), you can easily orchestrate and deploy web applications, run databases and so much more.
I’ve been a long time user of LXD and am a big fan. It can run both VMs and System Containers. System containers have many advantages over Application containers like docker and podman. The one main advantage is it supports stateful containers out of the box. This means I can run the NAS and all other applications inside a container.
Given that LXD supports ZFS and GPUs natively out of the box this is essentially a match made in heaven. I can do instant snapshots to backup my containers, run all of my applications on the ZFS cluster either in a container or a virtual machine, mount GPUs to my machine learning container and much more. Given that I have 64 GB of Ram and ZFS will use the Ram as cache out of the box, the performance will be more than adequate.
NAS Setup
I chose netatalk because all the clients in our house is a Mac. Netatalk supports AFP protocol along with spotlight indexing and Time Machine out of the box.
So far I’ve been very happy with the setup. Everything ‘just works’. The configuration file is also extremely simple.
# /etc/netatalk/afp.conf

;
; Netatalk 3.x configuration file
;

[Global]
; Global server settings

[Homes]
basedir regex = /home

; [My AFP Volume]
; path = /path/to/volume

[zack time machine]
path = /home/zacksiri/backup
time machine = yes

[savika time machine]
path = /home/savika/backup
time machine = yes
Managing user as password is just a matter of creating users in the container using the adduser command and setting the password.
Livebook Machine Learning Setup
Even if the Quadro M2000 card is not the most powerful GPU out there I wanted to have a simple GPU so I could experiment with installing CUDA and doing some ML experiments in an environment that’s similar to running in the cloud. I didn’t have any expectations, but things turned out to be much better than I expected. I did have some difficulty setting up Cuda but eventually managed to get it all working. When I messed up I would just delete the container and start over. When everything was working I made a snapshot so that I can spawn up a new cuda ready container when ever I needed.
Snapshots:
+-------------------------------+----------------------+------------+----------+
|             NAME              |       TAKEN AT       | EXPIRES AT | STATEFUL |
+-------------------------------+----------------------+------------+----------+
| base-livebook-cuda12-cudnn897 | 2024/06/06 06:06 UTC |            | NO       |
+-------------------------------+----------------------+------------+----------+
I’ve been able to use accelerated computing on all my ML work with Cuda 12.5. I’m doing small experiments with machine learning for now so this setup is adequate for the price I paid. Later when the requirements grow I can simply pop in a couple of 4070 Ti Supers swap in a more powerful PSU and call it a day. That’s the beauty of building your own rig.
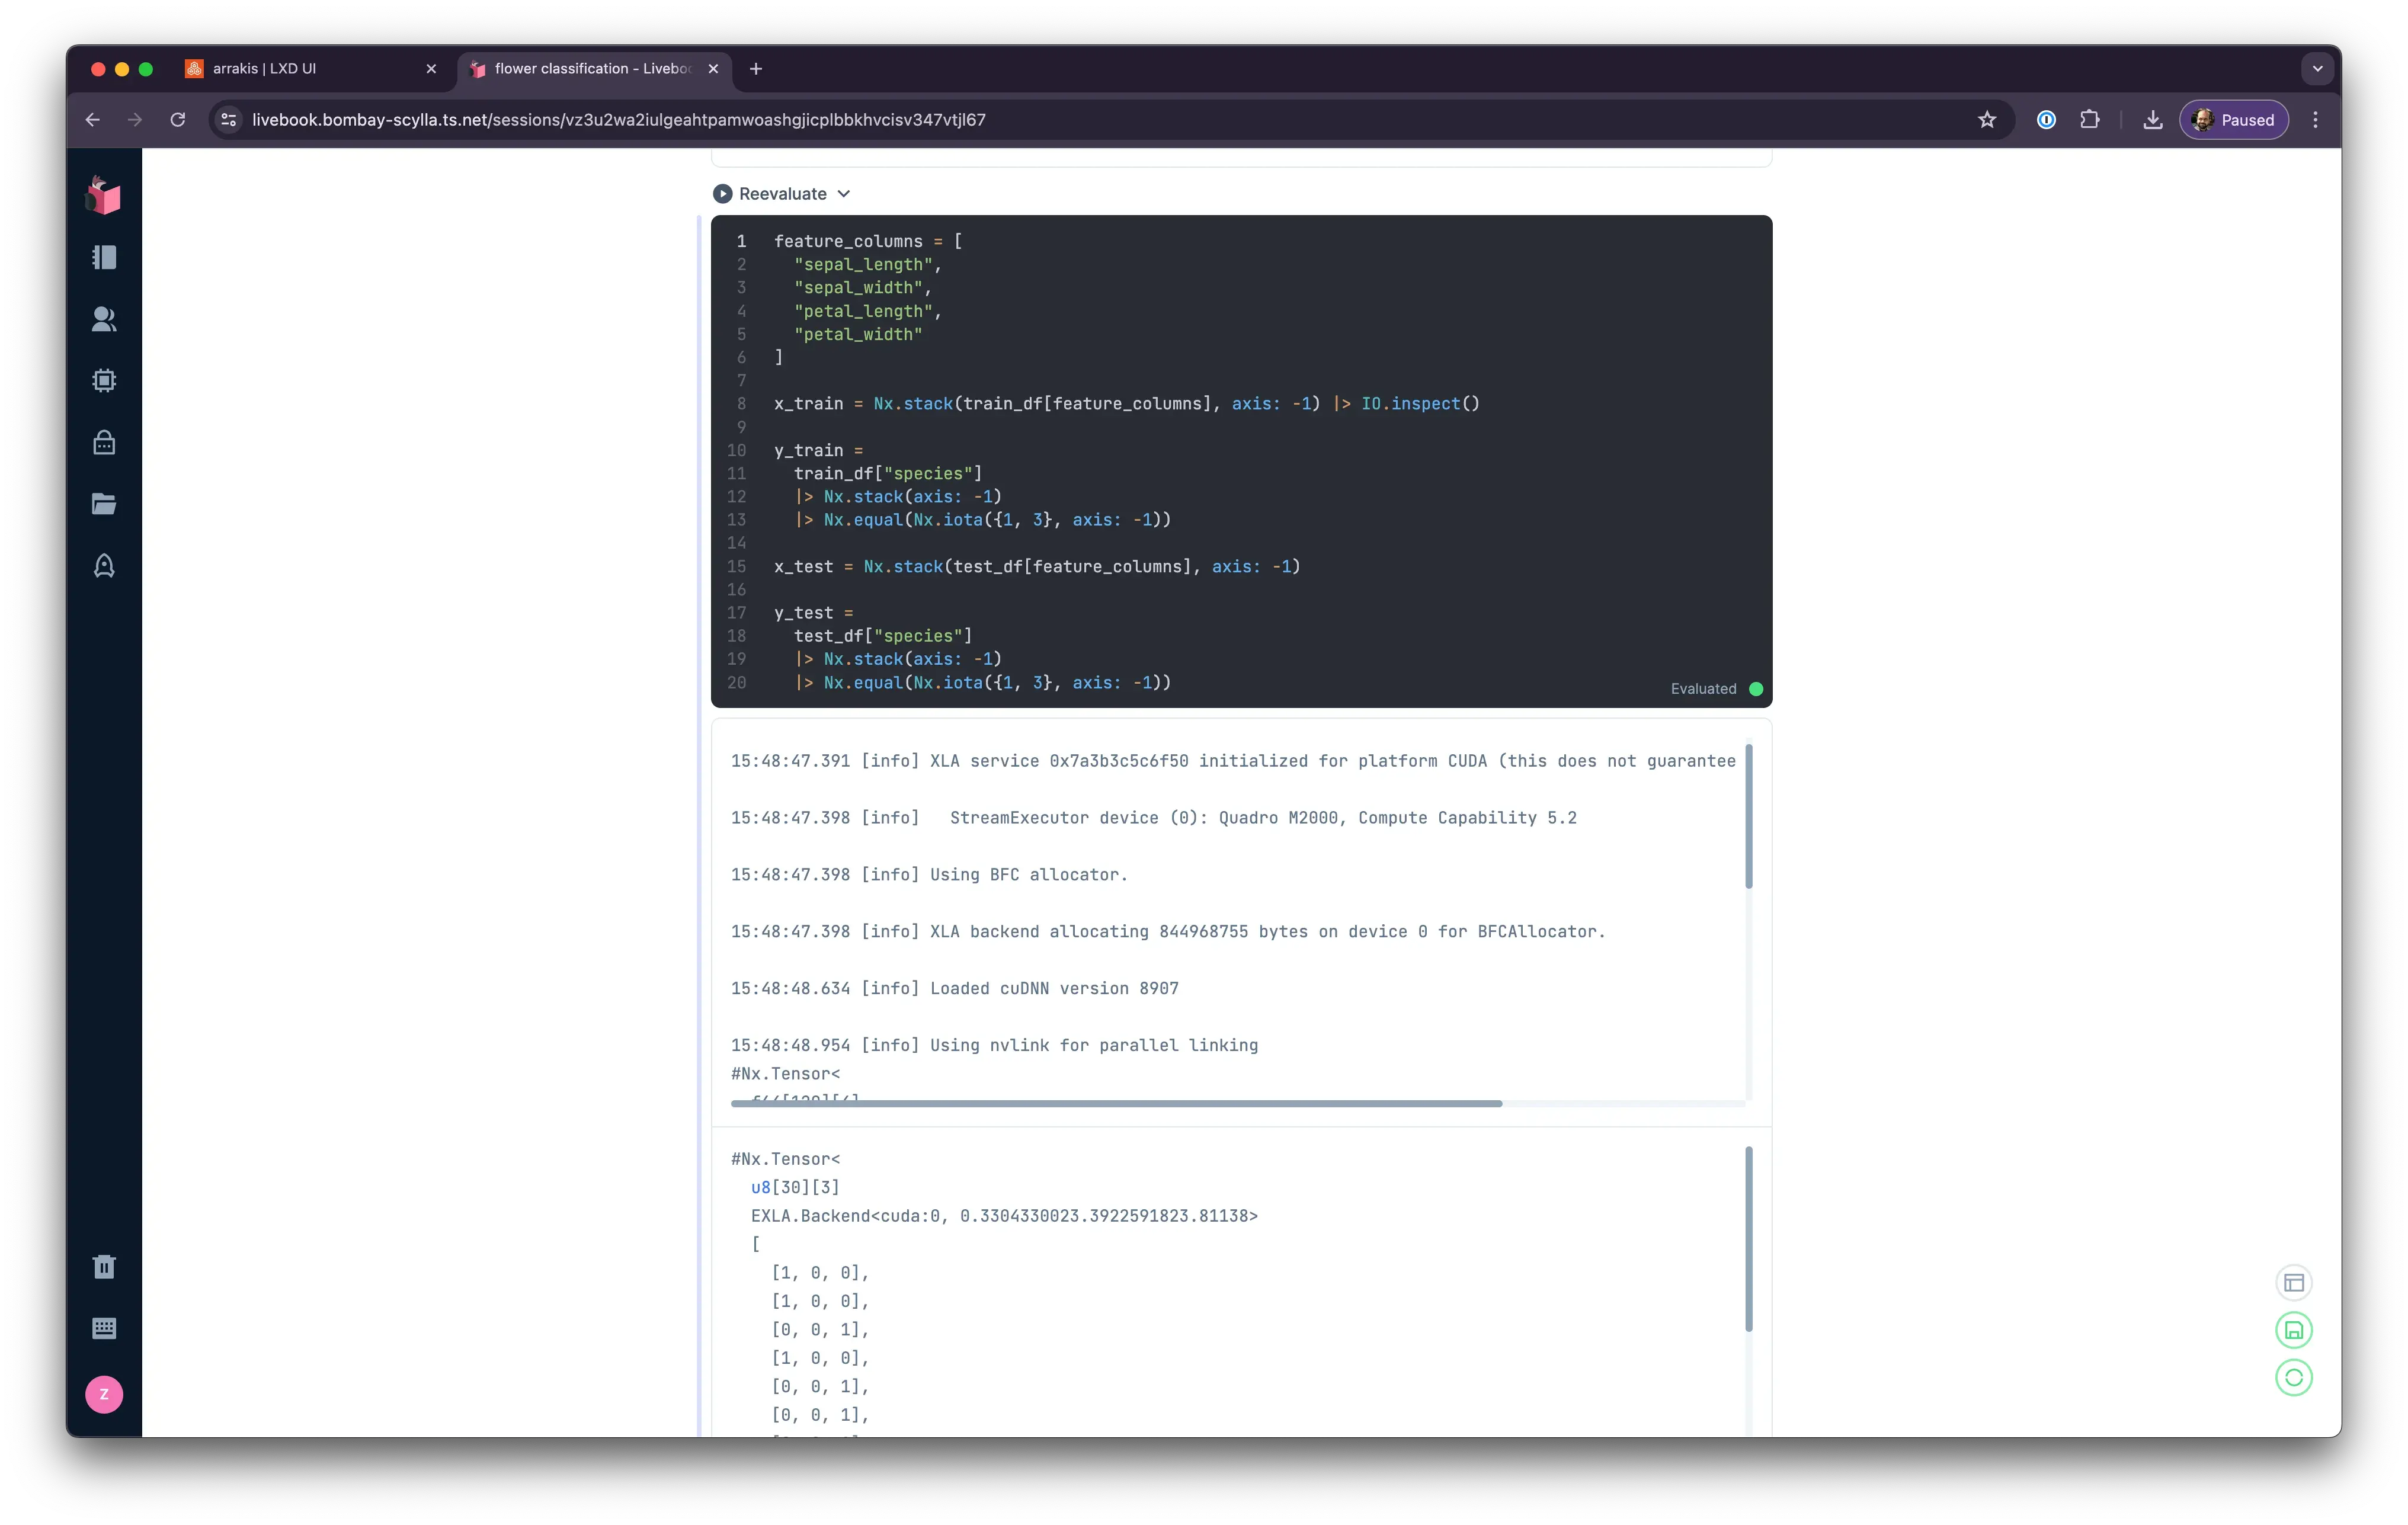
I also installed tailscale to create a mesh network, amazingly enough Caddy my favorite web server supports retrieving ssl certificate from tailscale out of the box. How wonderful when stuff just works. As long as I’m connected to my tailnet I can access my livebook and run experiments from anywhere.
Oh and here is the obligatory nvidia-smi output from inside the container.
root@livebook:~# nvidia-smi
Thu Jul  4 16:07:55 2024
+-----------------------------------------------------------------------------------------+
| NVIDIA-SMI 555.42.02              Driver Version: 555.42.02      CUDA Version: 12.5     |
|-----------------------------------------+------------------------+----------------------+
| GPU  Name                 Persistence-M | Bus-Id          Disp.A | Volatile Uncorr. ECC |
| Fan  Temp   Perf          Pwr:Usage/Cap |           Memory-Usage | GPU-Util  Compute M. |
|                                         |                        |               MIG M. |
|=========================================+========================+======================|
|   0  Quadro M2000                   Off |   00000000:03:00.0 Off |                  N/A |
| 56%   34C    P8             12W /   75W |    2578MiB /   4096MiB |      0%      Default |
|                                         |                        |                  N/A |
+-----------------------------------------+------------------------+----------------------+

+-----------------------------------------------------------------------------------------+
| Processes:                                                                              |
|  GPU   GI   CI        PID   Type   Process name                              GPU Memory |
|        ID   ID                                                               Usage      |
|=========================================================================================|
+-----------------------------------------------------------------------------------------+
root@livebook:~#
Windows 11 VM
Surprisingly getting this one up and running was the most difficult of all. I did all of the setup above in about a day. But ran into multiple issues with Windows 11. The difficulty mostly involved removing all the bloatware, and requirement of using a Microsoft account to login.
When I setup my Microsoft account I used 1Password to generate highly complex password with special characters and during the setup process through virt-manager I could not use copy paste. I’m normally quite risilient and don’t cry that easily, but in that moment here is what it felt like.
I finally caved and had to set a simple password for my account, login to windows enable RDP and then change the password back to something complex.
Next was getting rid of the bloatware in Windows. I managed to find a nice script that ‘debloats’ windows.
Also for some reason the password I use for RDP now is the simple password I used when I setup RDP. Changing the windows password did not change the RDP password for some strange reason. It doesn’t make much sense but I guess that’s Windows. I never expected getting windows working would be more difficult than all the other stuff. Maybe I’ve been away from windows for far too long 🤣. Nevertheless I managed to get it all working.
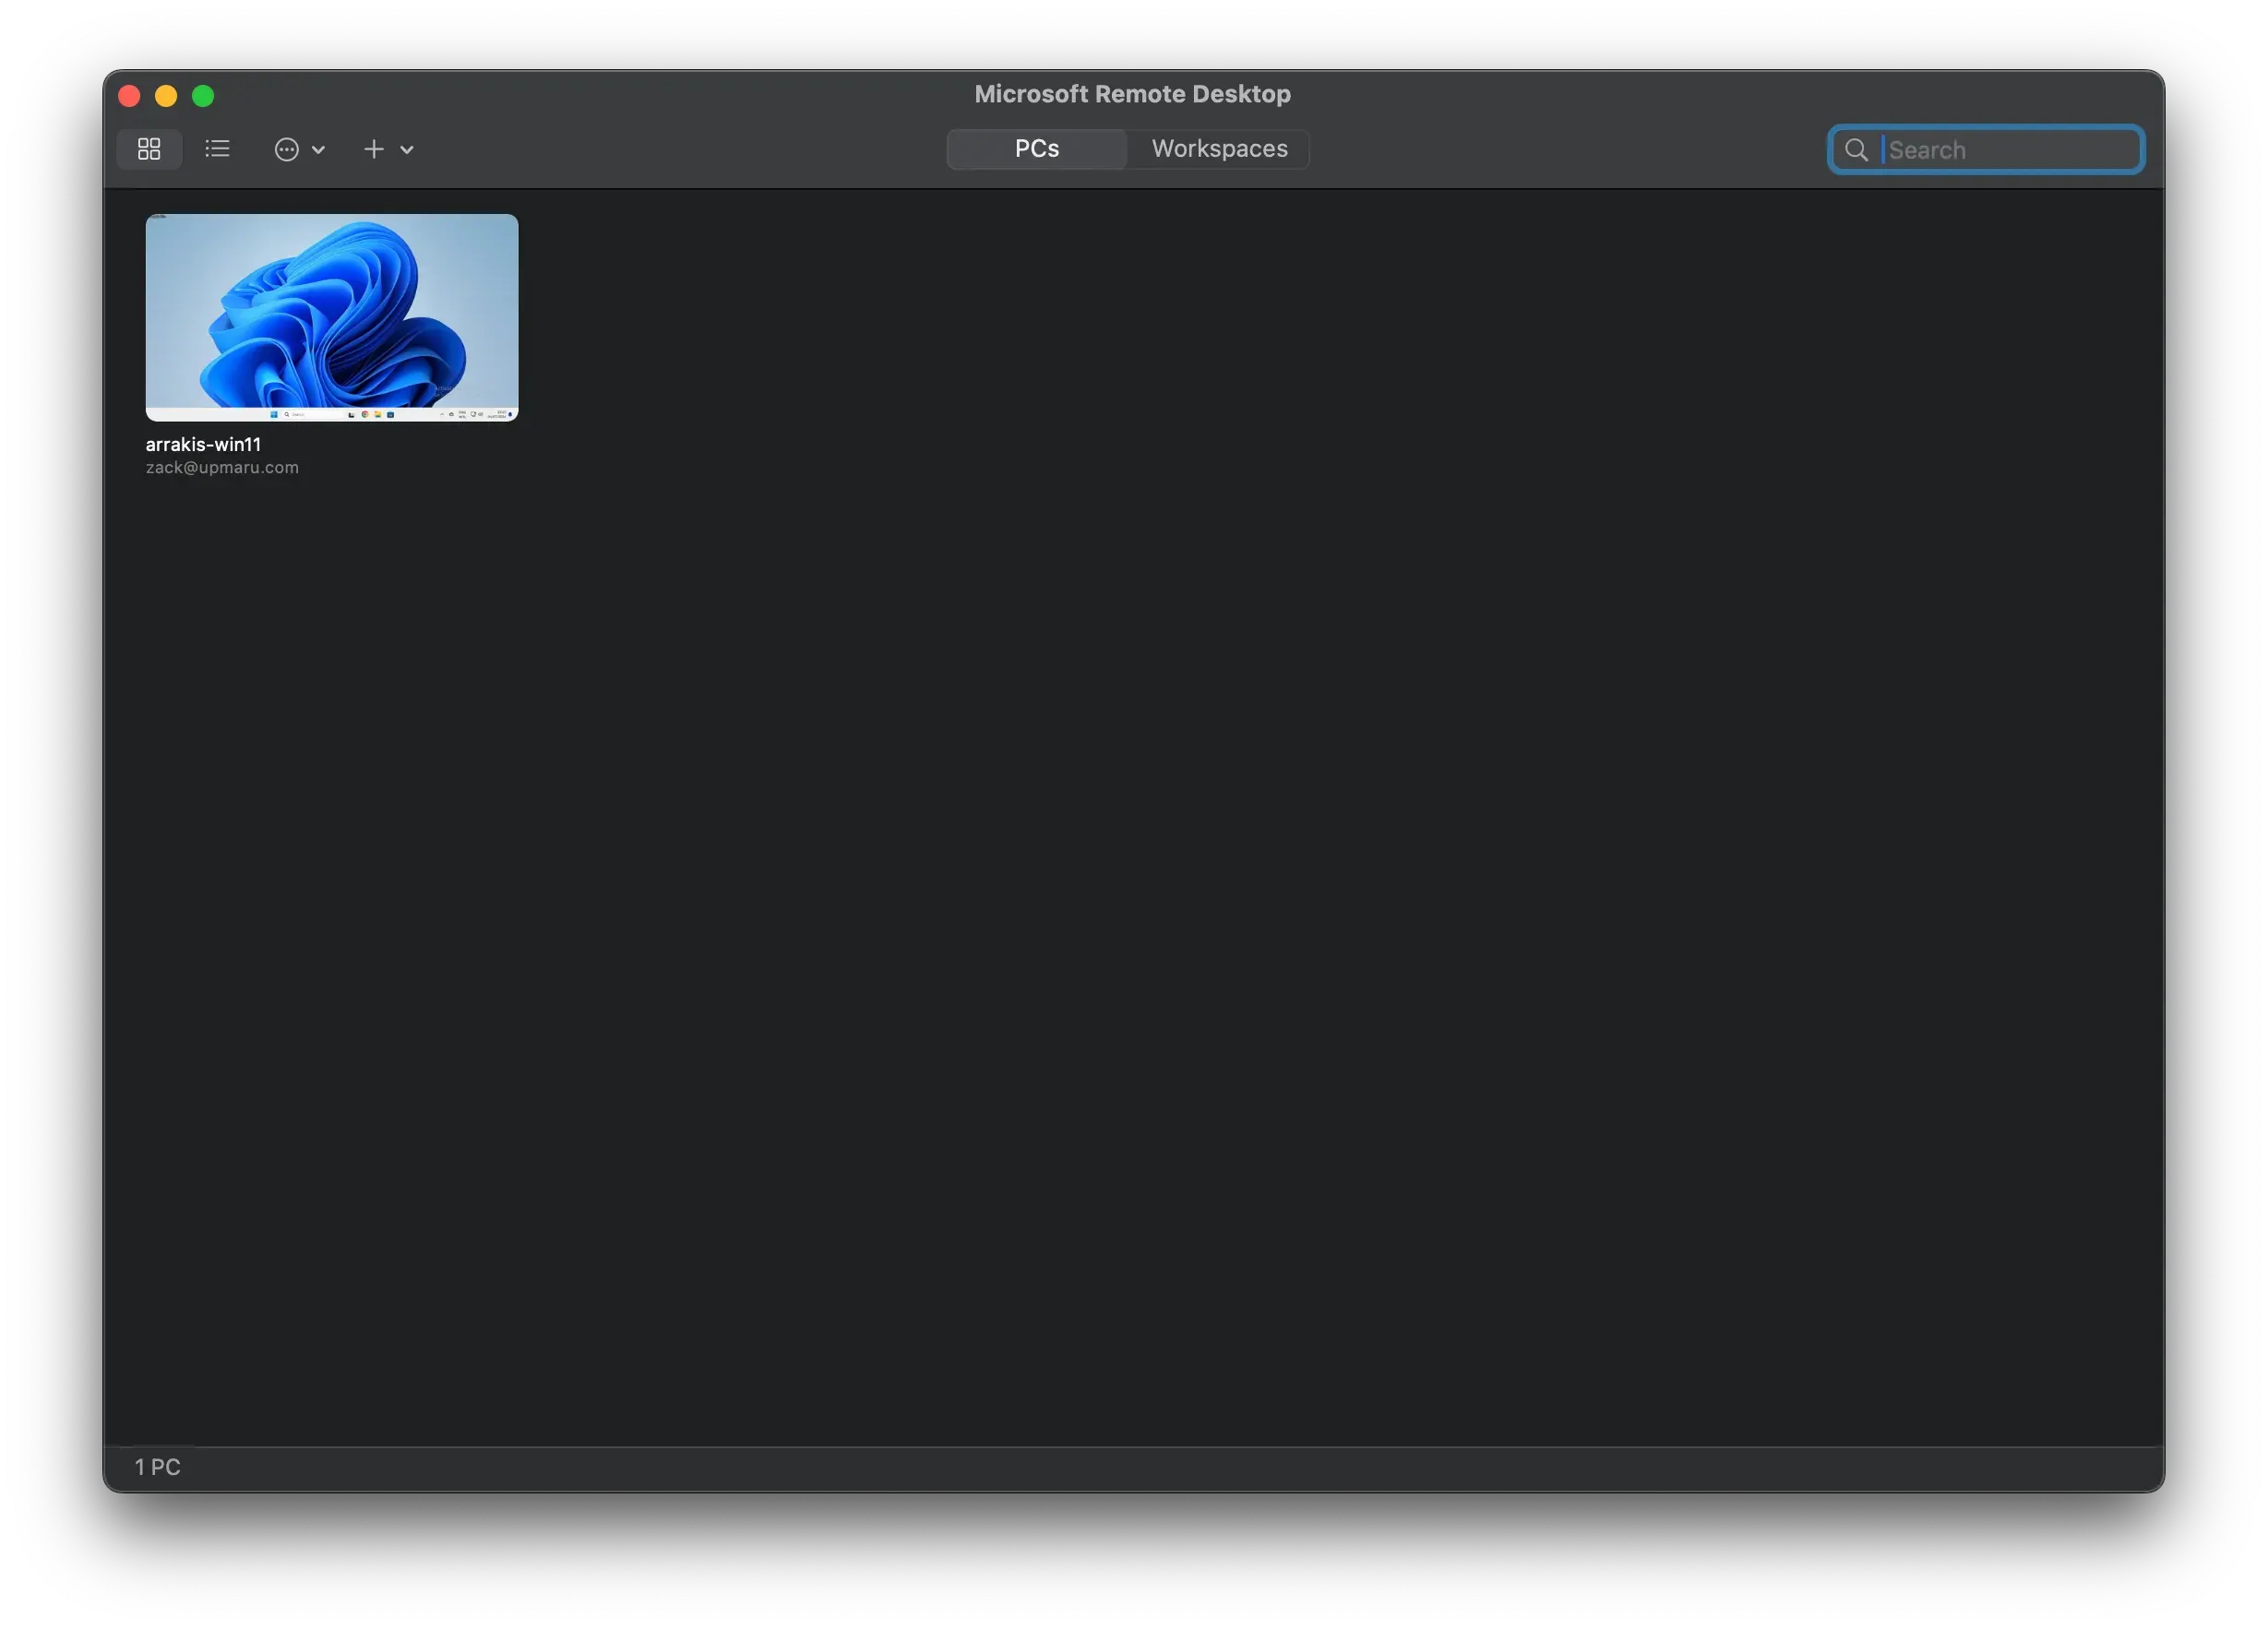
Now if I ever need to try / test anything on windows it’s just a click away and I have Windows 11 running anywhere I want as long as I’m connected to tailnet.
CPU Cooler
I chose DeepCool AK500 Digital for my cpu cooler. Mostly because of it’s performance and I just love the way it looks. Fortunately there is a python script that enables support on linux. At any point I can quickly glance over see how much load is on the system and the CPU temps.
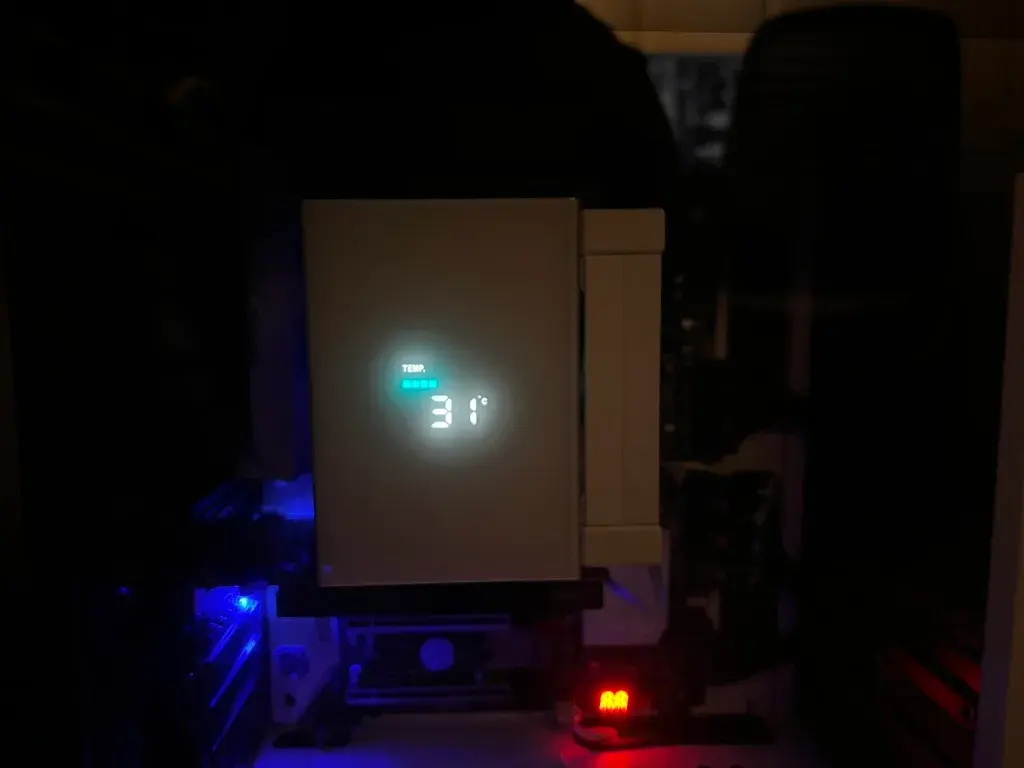
My kids love prancing into my studio to stare at the cpu cooler alternate between the numbers! 😝
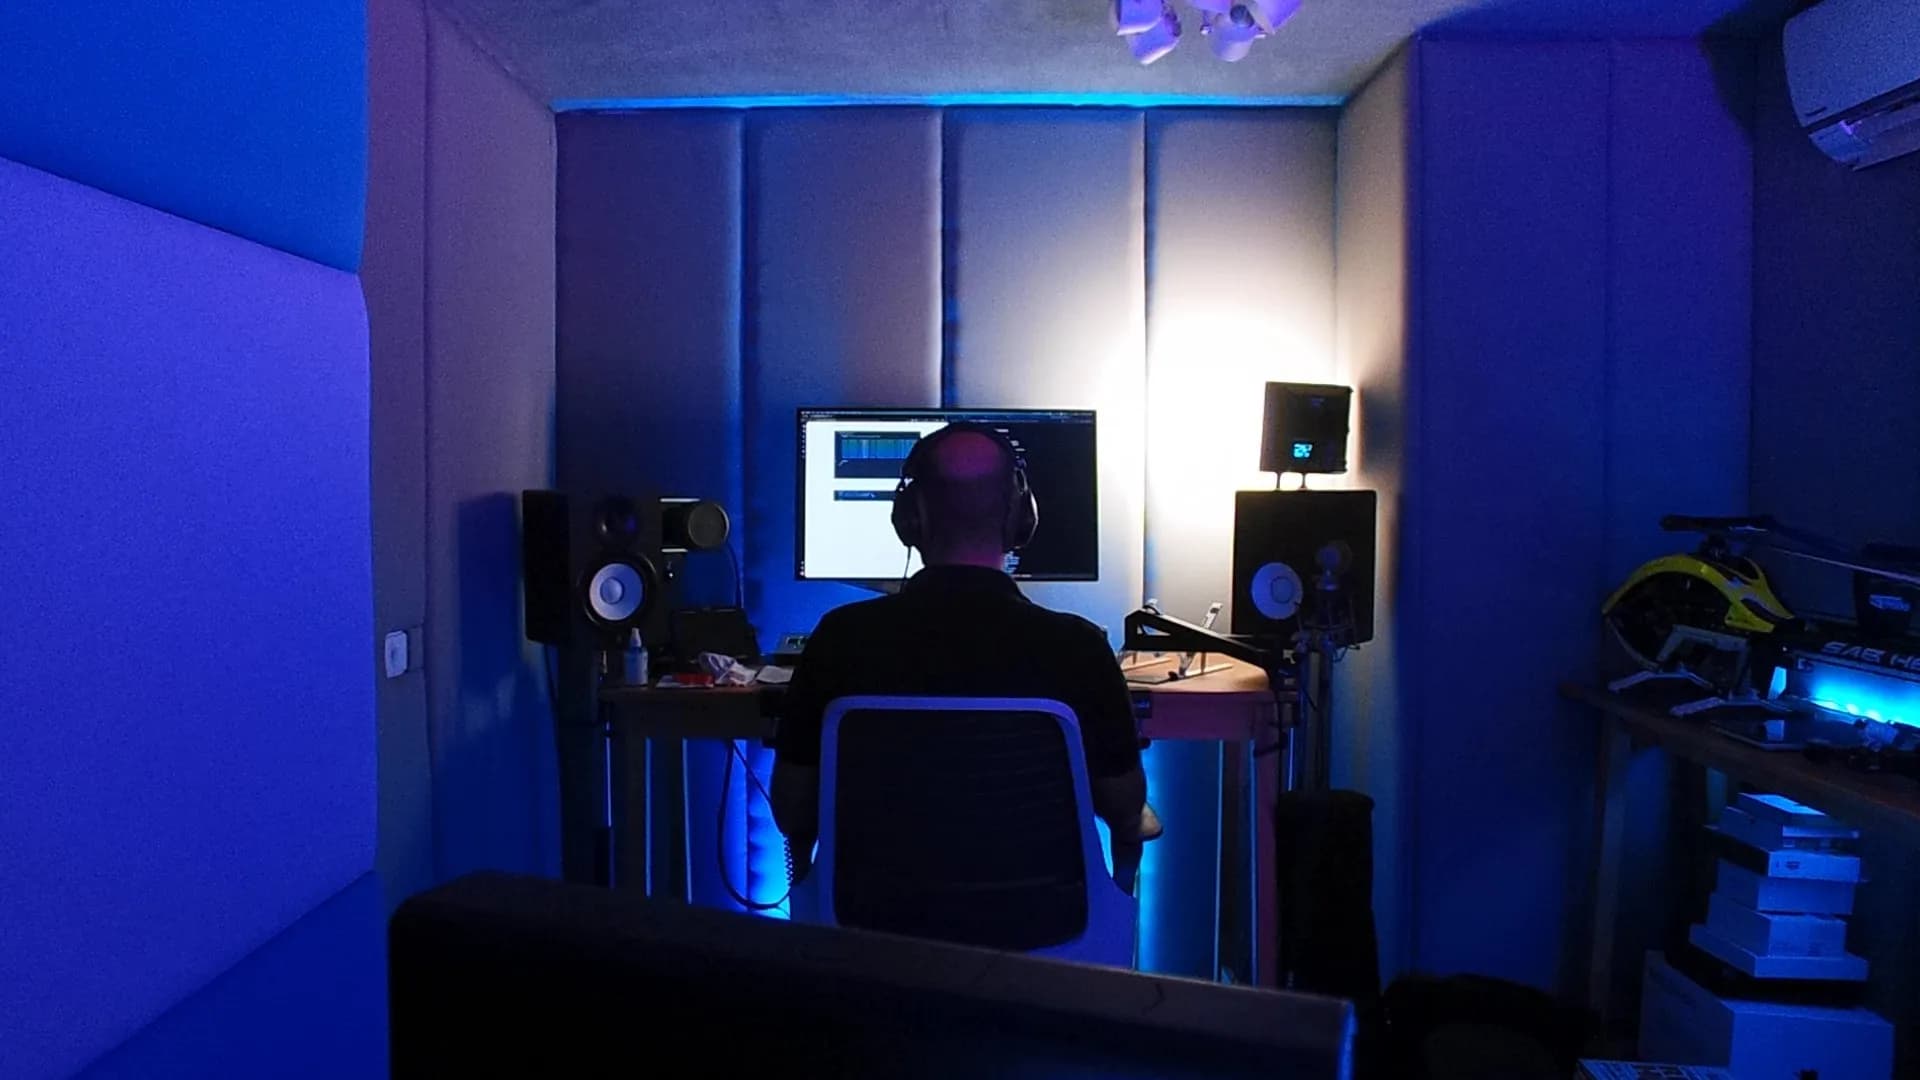
The Final Setup
Here is the completed machine.

I’ve been running this setup for about a month now. Overall I’m really happy with the build. I’m using it for more and more things every day. There is something nice about not having to spin up a cloud VM and having something on standby. There are numerous times where I’ll just spin up a container or a VM to experiment and try something out and delete it.
Or I’ll just login to livebook to try some experiment that came up. I’ve recently started running some test suites for some CI work on the machine. I’ll write more about that on a different day. Everything feels fast and snappy. I don’t have to wake up in the middle of the night wondering if I’ve turned of at GPU VM that’s costing me some insane hourly rate.
If you enjoyed this post be sure to like it on social media.
If you are interested in learning more about how I use LXD to solve all my DevOps problems, spin up cloud platforms and deploy my apps book a free consultation with me. I developed opsmaru as a tool to enable businesses to quickly and securely deploy their applications on any cloud of their choice.
I offer DevOps as a Service consulting for businesses that want to focus on shipping rather than spending precious resources on the plumbing work. I’ve helped businesses cut costs and setup SOC2 compliant deployment platforms with zero-trust access with quick turnaround. My platform is also easy to use and enables customers to have a self-service internal developer platform post-consultation period. If you’re interested in learning more book a call.